
Paperclip Chain Mandrels
Mandrels are lovely creations that allow the metalsmith to create uniform shapes.
Traditionally the ring mandrel was made of wood and sometimes wrapped in a thin layer of metal to protect the surface. Eventually steel working technology and casting processes allowed for the beautifully polished ones we see for sale at manufacturers like Pepetools.
Current market offerings for jewelry mandrels include those for making bezels, chain, rings, and wire forming.
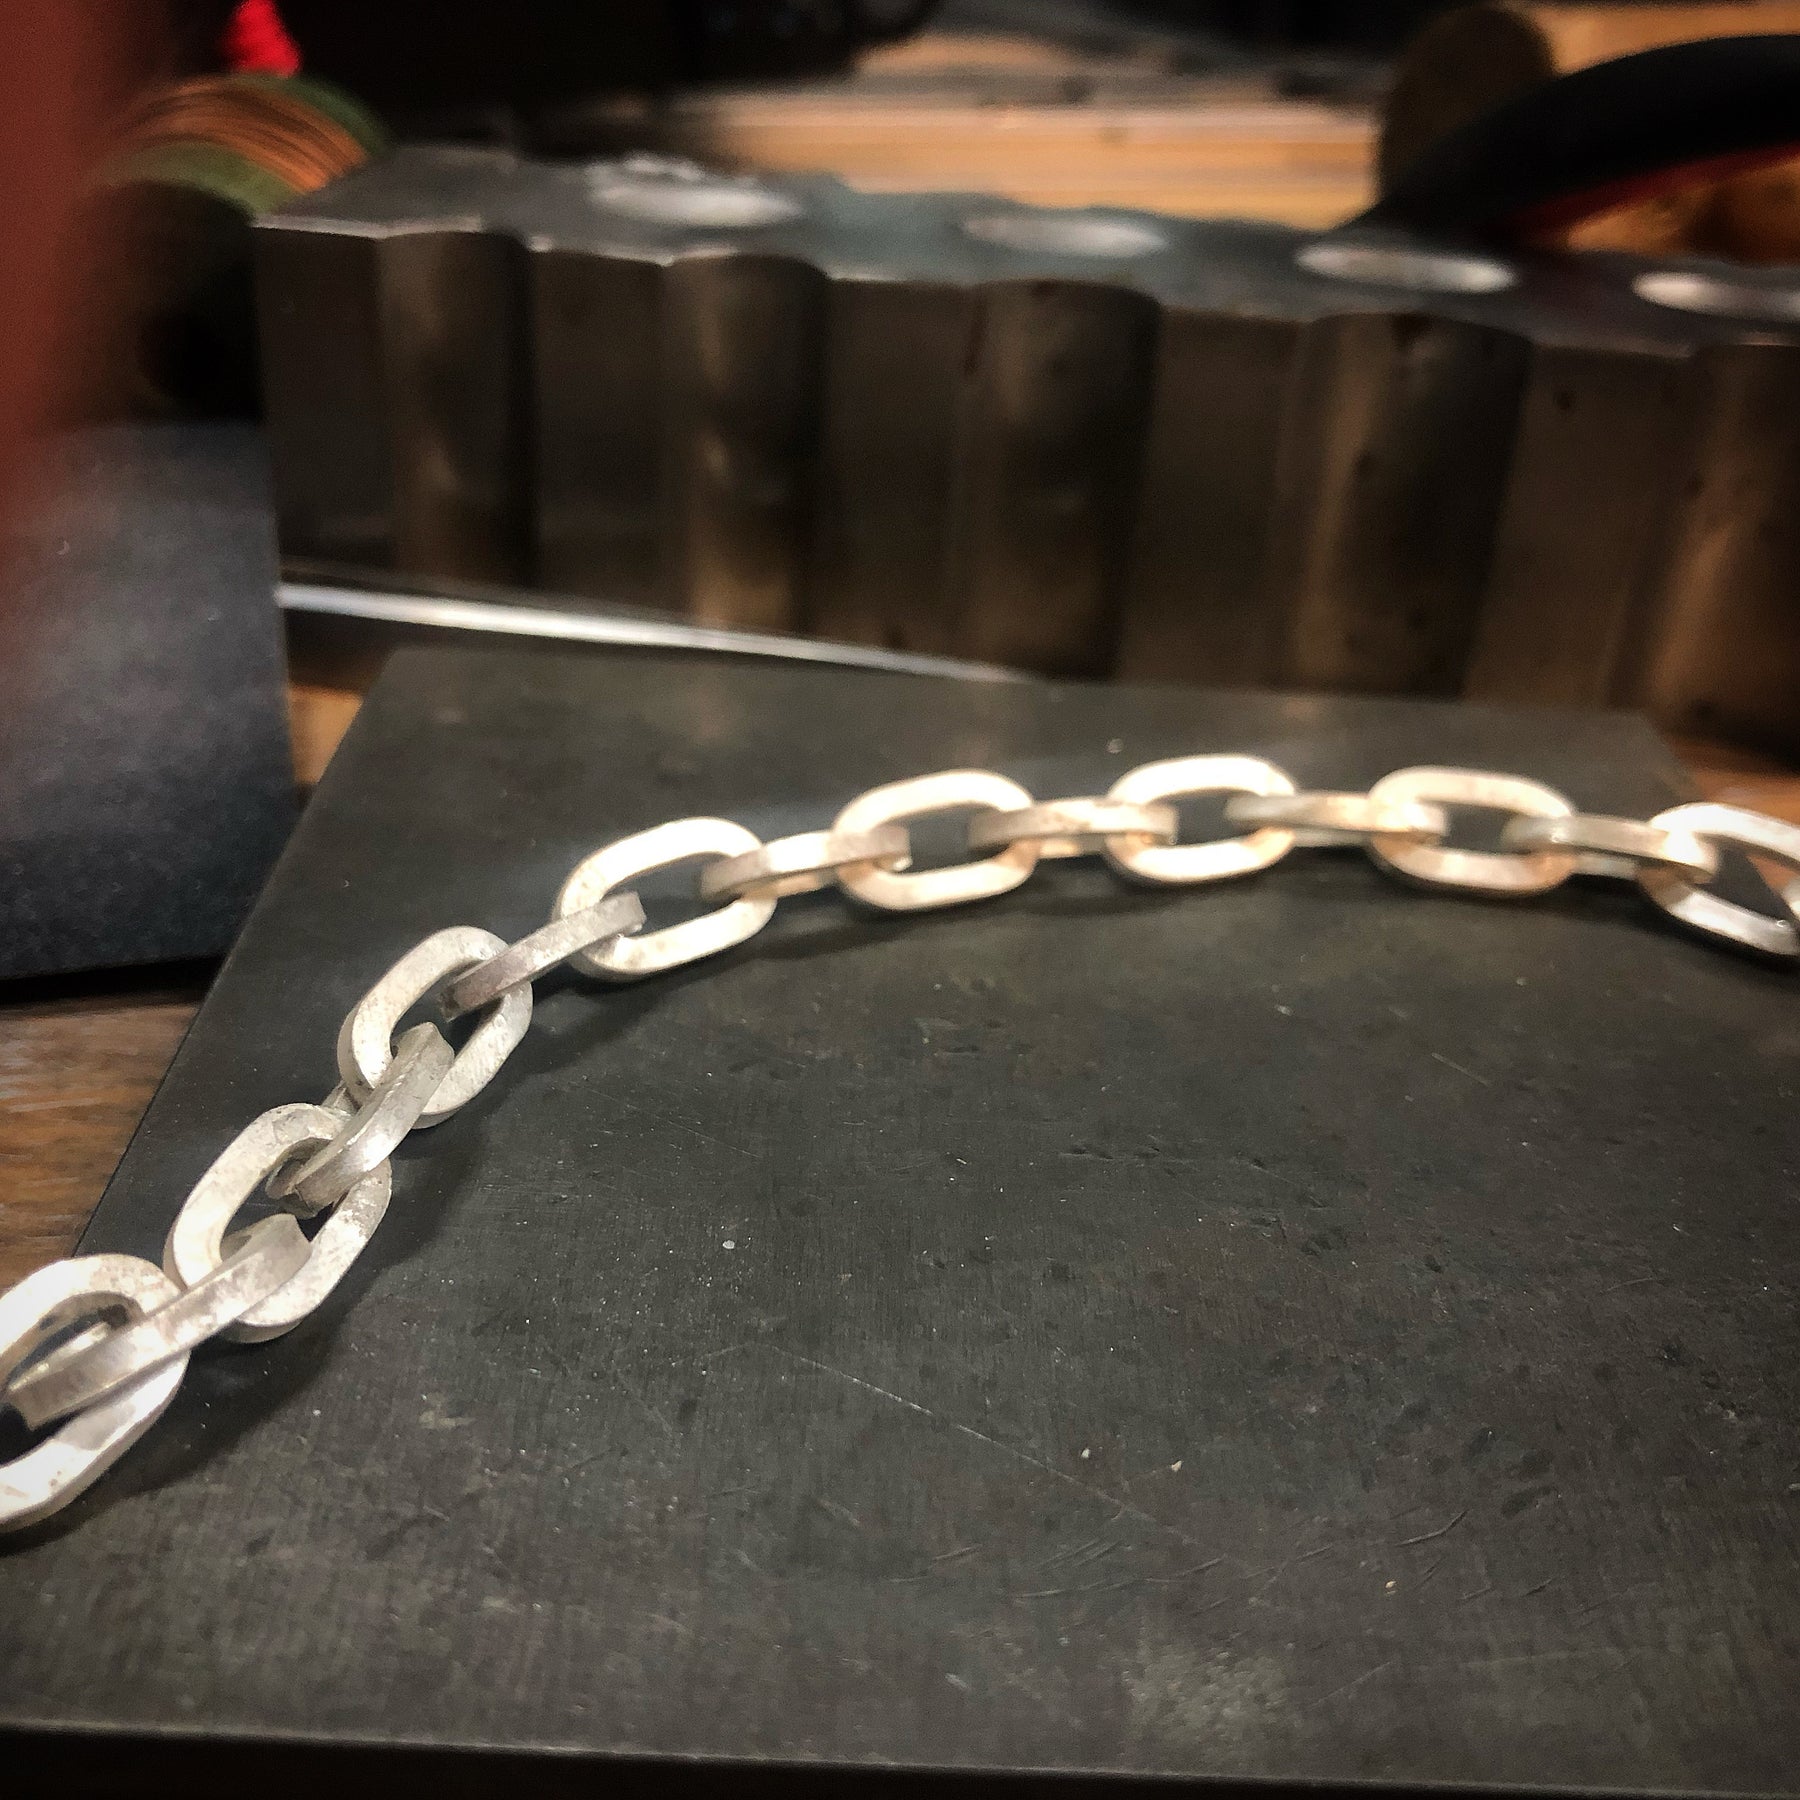
In this blog post I am going to focus on chain making. Specifically, oval links and variations of chain made from oval links such as the popular 'paperclip" style chain. To assist in making sure we all know what I am talking about a paperclip style chain is basically an elongated oval like this :
[Made with 16 gauge copper wire & Large 3mm mandrel]
A variation of the long paperclip link is this sterling barbed wire bracelet I made with 14 gauge wire and the Large 3mm mandrel.

Education vs. Innovation
When I was taught to make oval links the order of operations looked something like this:
- Make a coil of round jump rings
- Cut the coil
- Solder/fuse the individual rings
- Stretch the circles into ovals (various methods)
- Cut half of the links
- Connect the cut links to the soldered links
- Re solder/Fuse
Quite a few steps for an oval link starting with a circle. This isn’t the only process that I have learned over the years.
Another method was to take a popsicle stick and use it as a makeshift mandrel for creating a ready made oval. This process looks like this for a standpoint of order of operations:
- Coil wire onto popsicle stick
- Cut the coil
- Solder/ fuse half the links
- Connect the links
- Solder the rest of the links
From a perspective of time, this cuts at least two steps out. As a maker and entrepreneur faster, better, and less steps means more profit and less time invested.
Another method, outlined in Alan Reveres book Professional Jewelry Making, uses a thick round brass wire rolled flat in a mill on two sides to make an elongated oval. This elongated brass oval wire is then used as your mandrel. This method works well for the cuban or curb link.
The Problems
First, What if I wanted an oval link smaller or larger than a popsicle stick. Secondly, as much as I like popsicles I can only eat so many.
The logical folks will retort, citing the fact I can buy popsicle less sticks in bulk. I am aware, but this is less of a win/win because, popsicles .
Popsicle sticks are also made from a soft wood that has a limited lifespan in the metalsmith realm of use. Resulting in making them a truly a disposable or consumable tool. [pun intended]
The Alan Revere method using brass rod works great but again limits the maker to a select few link sizes mostly dependent on the size of the brass rod available.
Making a Tool
The tool itself had to meet a few pre-established criteria:
- Durable
- Reusable
- Uniform/repeatable
- Versatile
When selecting a material, stainless steel quickly rose to the top of my list for material choices.
Stainless steel can be purchased in a variety of thicknesses, widths and lengths. It resists rusting, and is generally very durable. The 304 stainless mandrels will not be heat treated and 304 is tough material that holds up to the heat of a torch.
After playing around with some stainless steel in .125 or 3mm thickness, I created my first prototypes and production run from this material. The set included three lengths of stainless bars all 12 inches long:
- 12 x 1/2 x .125
- 12 x 3/4 x .125
- 12 x 1 x .125
[These dimensions were later used to make the Large .125/3mm mandrel]
This turned out to be an excellent choice for the product. However, I didn’t really address the versatile aspect of my criteria.
The Current Product

The paperclip mandrels being offered currently come in 9 different configurations.
- Large 3mm, 2.5mm, and 2mm
- Medium 3mm, 2.5mm, and 2mm
- Small: 3mm, 2.5mm, and 2mm
Terminology
Thickness:The mandrel thickness is the thickness of the stainless steel each mandrel is laser cut from. I was able to decide on three thicknesses of stainless steel going forward these three thicknesses would offer a decent range of versatility:
-
.125 inch = 3mm
-
.100 inch = 2.5mm
-
.060 inch = 2mm

Size:
The mandrels come in three different sizes:
- Large
- Medium
- Small
Here are the step heights for each of the sizes. 
Step:
Each mandrel will have three steps. Regardless of the thickness chosen every mandrel in the same size category (large, medium, small) will have the same step heights. The step height is also a representation of how tall the inside of your link
will be.

Picking the right mandrel
Since making chain requires you to wrap a wire around the mandrel the outside dimensions of you links will change depending on the gauge of wire you choose. 10 gauge is thicker than 16 gauge so you can change the link appearance by changing your wire thickness. (options!)
However, The inside measurements of your link will stay the same as the mandrel measurements. This can be important when working with large gauge wire like 14-10 gauge.
Example
- 10 gauge is 2.58mm thick.
- Using a mandrel 2.5 or a 2mm thick may not allow enough internal clearance for your links to articulate.
- In this case a 3mm mandrel would be the ideal choice.
Here is my recommendation for mandrel thickness and wire choices:

Making your links
Oval links can be problematic not just with the method of stretching round links and having a third of them pop after fusing or soldering.
Removing an oval coil of wire from an oval mandrel is remarkably more difficult than a round coil. Likely due to radial bending forces and the increased surface area interaction with the wire and mandrel.
I have two methods that may assist you in being more successful and faster at removing your links.
- Before you wrap your wire around your lion punch forge paperclip mandrel tightly trap some paper around the mandrel where you plan on wrapping your wire. Two to three tight wraps is enough. then proceed to wrap your links. when your coil is finished take your mandrel over to your soldering station and anneal the coil on the mandrel. (This will not hurt your mandrel) Your wrapped paper will burn away leaving enough of a void behind to assist you in slipping your coil off your mandrel. I want to credit Alan Revere with this tip but i cannot find it in the mentioned book.
- Use your bench polished block and a rawhide mallet to issue some light percussive maintenance. Lay the coil flat on the long side and lightly tap with your mallet.
These two tips should help you get your coil off your mandrel smoothly.
Cutting your links
There are a couple schools of thought when it comes to cutting your links. The good old jewelers saw like the Lion Punch Forge Haymaker can do a fine job!
Mount your coil in a ring vice and saw them all together our product team member, Jen Surine, can be seen doing this in her Instagram reel
Since i make tools i have devised a way to use my GRS Bench pin system to mount a chuck, I call it the marmot. Marmots are my favorite of chuck family of mammals .

My Marmot isn't as cute but is probably more useful in the studio than this little cuddle muffin.

The chuck holds a split mandrel so you can slide your coil over the split mandrel and saw your links. Making this tool was something i did to make sawing my links at the link radius easier.
Using the stretch your round link oval method a lot of folks would position their solder or fusion joint on the long portion of the link.
This is done to mitigate potential "popping" of the joint due to a less stressful load being applied to the straight portions of the link. It can work well! but...
lets think about how oval chains lay when around the neck. Radius to radius contact. so if an oval chain was cut on the longer sides of the link it will look like this:
Center joints

This arrangement leaves your solder joints visible when the chain hangs around your clients neck. Additionally since the solder joints are visible when wearing you may have to spend some more time inspecting and making sure everything is acceptable.
Compared to :
Radius Joints

Radius joints may be a little require a little more practice but ultimately the natural way the chain lays hides the joint making a cleaner looking chain.
Like this:
Made with 12 gauge square SS wire and a medium 3mm mandrel

I hope this helps! please reach out if you have any questions. Here are a couple Youtube videos that may help.
Chris
Comments
Leave a comment